


11 Must Know Transition + MEP Details with ZIP System Building Enclosures
4 Min Read March 20, 2023
Penetrations and transitions in the wall assembly create potential areas for water intrusion and air leakage. The details below will help keep your wall transitions and penetrations protected against the elements.
01. ZIP System Sheathing at Typical Beam Penetrations
Flashing a beam penetration in a wall is simple with ZIP System™ stretch tape. Many beams can be properly flashed with a single piece of stretch tape, with a minimum of 1” coverage on the beam and the ZIP System® sheathing. ZIP System™ liquid flash is an alternative flashing option.
02. ZIP System Sheathing at Concrete Masonry Transition
When flashing a vertical transition between ZIP System sheathing and a concrete masonry wall with a foam backer rod in the ½” gap between the concrete and the ZIP System sheathing, we recommend flashing with ZIP System™ liquid flash.
03. ZIP System Sheathing at Exterior Wood Deck
When installing ledger boards with ZIP System sheathing, ensure all panel seams are flashed prior to installing the ledger board.
04. ZIP System Sheathing at Parapet Wall
Often seen in commercial and multi-family projects and modern roof designs, parapet walls provide privacy from the ground of mechanicals that may be housed on the low slope roof. It is critical to get the parapet wall details correct to ensure the wall and roof management components work together.
05. ZIP System Sheathing at Typical Beam/Rectangular Penetration (Flashing Tape)
Flashing a rectangular beam penetration with ZIP System™ flashing tape is a bottom-up process. Starting with the underside of the beam penetration, work your way up the sides of the beam with the top piece installed last to ensure a proper overlap. In each case, have a minimum of one inch of tape coverage on both the beam and the ZIP System sheathing panel.
06. ZIP System Sheathing to Roof Underlayment
The wall to sloped roof transition detail is a potential area for water intrusion into the building enclosure. This detail helps ensure that any water moving down the wall is channeled away from the wall to roof transition.
07. ZIP System Sheathing with Shingles at Roof to Wall Transition
Step flashing with a shingle roof covering is intended to keep water from getting underneath the shingles and into the roof assembly. With ZIP System sheathing and tape, the taped panel seams and a layer of tape along the top of the step flashing minimize the potential for water intrusion.
08. ZIP System Sheathing at Electrical Penetration
Like other penetrations into the wall assembly, electrical box penetrations are a potential area for water intrusion and air leakage. Note: flanged electrical boxes are recommended for exterior outlets. Starting at the bottom of the electrical box, move up the sides and finish with a header piece for proper overlap. Maintain a minimum one inch of tape coverage on both the box and the ZIP System sheathing. ZIP System liquid flash is also an alternative flashing method.
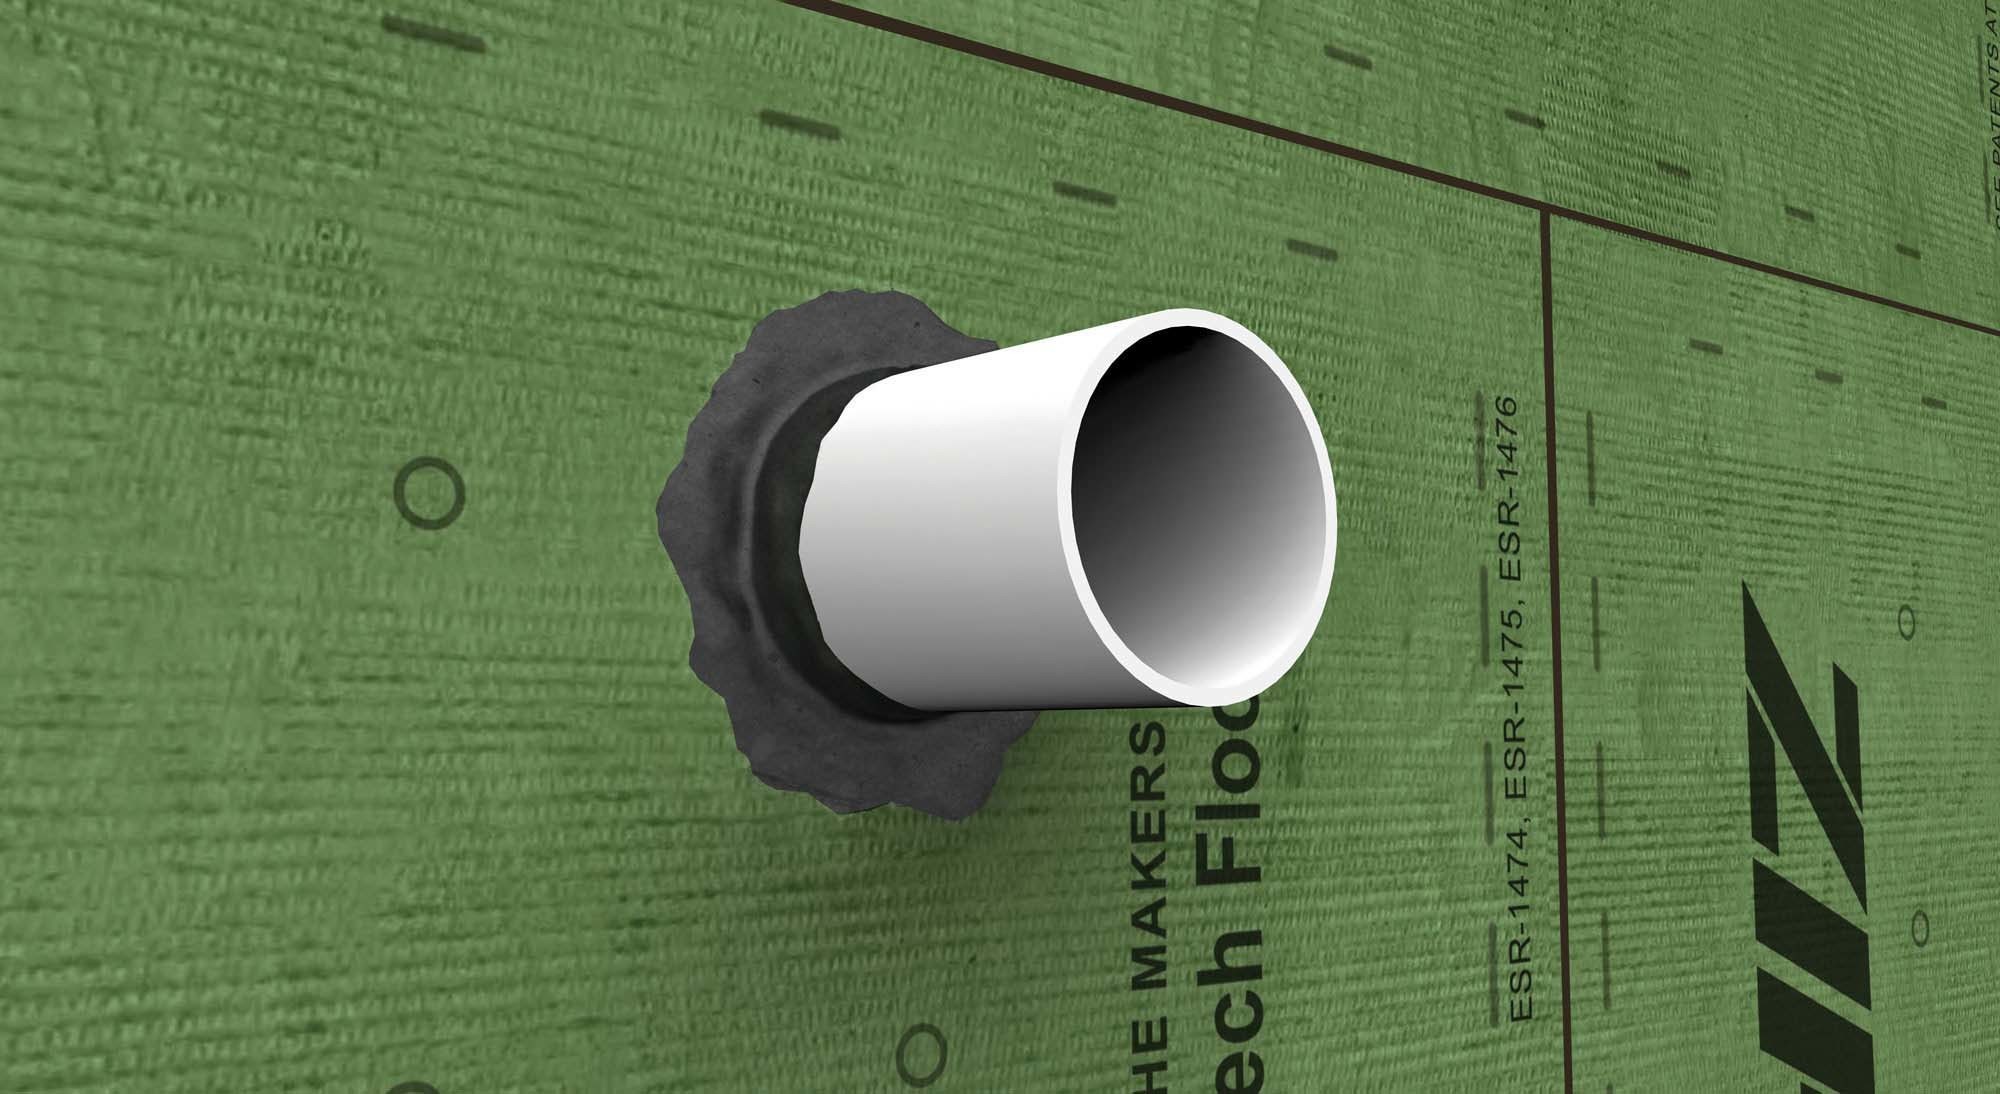
09. Round Pipe Penetration with ZIP System Stretch Tape or Liquid Flash
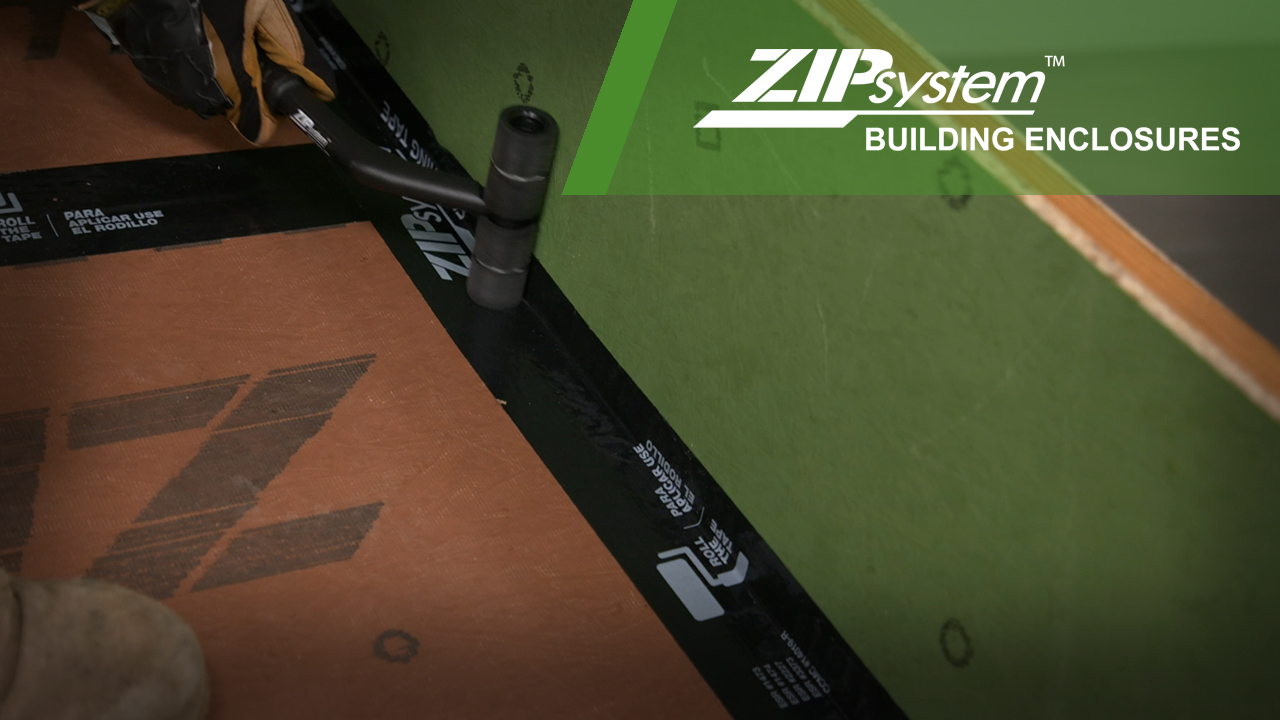
No matter the size of the pipe, flashing to reduce the risk of water intrusion or air leakage is simple with ZIP System stretch tape or liquid flash. Using a single piece of stretch tape, wrap around the pipe with a minimum of 1” coverage on both the pipe and ZIP System sheathing surface. Roll the tape.
11. Round Pipe Flashing Boot with ZIP System Flashing Tape
When using a pipe flashing boot around a pipe penetration, use ZIP System flashing tape to work your way around the boot perimeter starting with the bottom flange and ending with a header piece to maintain proper overlap. Keep a minimum of 1” of tape coverage on both the box and the ZIP System sheathing panel.
10. Mechanical Penetration with ZIP System Sheathing
Flashing a mechanical penetration in a wall with ZIP System flashing tape follows a similar process to an electrical box or a rectangular beam. Starting at the bottom, move up the sides and end with a headpiece to help ensure proper overlap. Maintain a minimum of 1” of tape coverage on both the box and the ZIP System sheathing panel.
- ZIP System Sheathing at Typical Beam Penetrations
- ZIP System Sheathing at Concrete Masonry Transition
- ZIP System Sheathing at Exterior Wood Deck
- ZIP System Sheathing at Parapet
- ZIP System Sheathing at Typical Beam/Rectangular Penetration (Flashing Tape)
- ZIP System Sheathing to Roof Underlayment
- ZIP System Sheathing with Shingles at Roof to Wall Transition
- ZIP System Sheathing at Electrical Penetration
- Round Pipe Penetration with ZIP System Stretch Tape or Liquid Flash
- Mechanical Penetration with ZIP System Sheathing
- Round Pipe Penetration with ZIP System Flashing Tape